

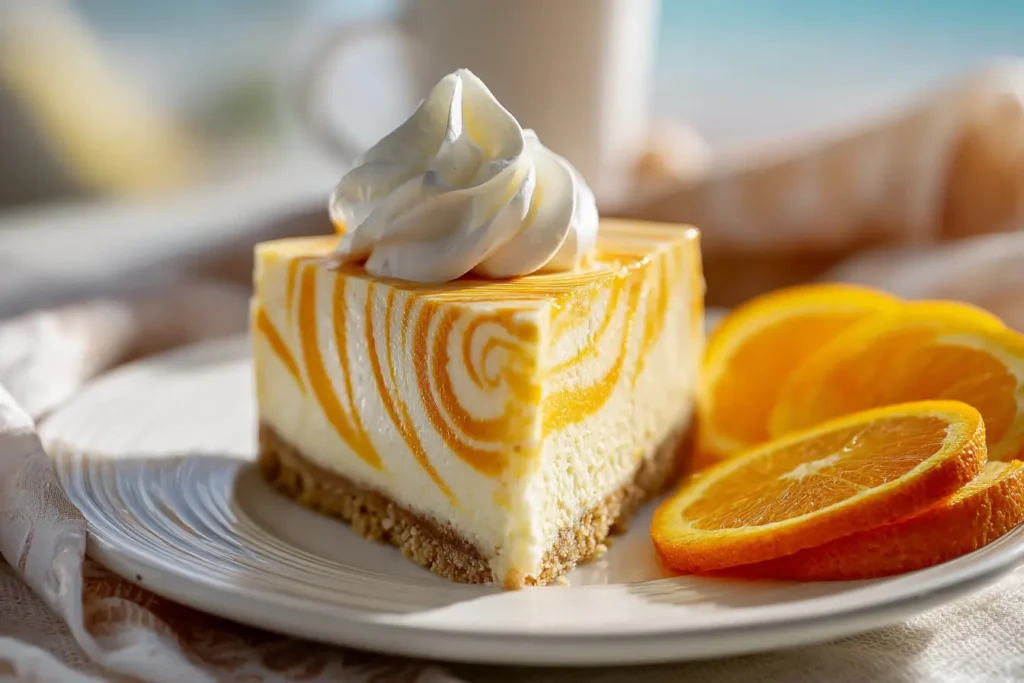
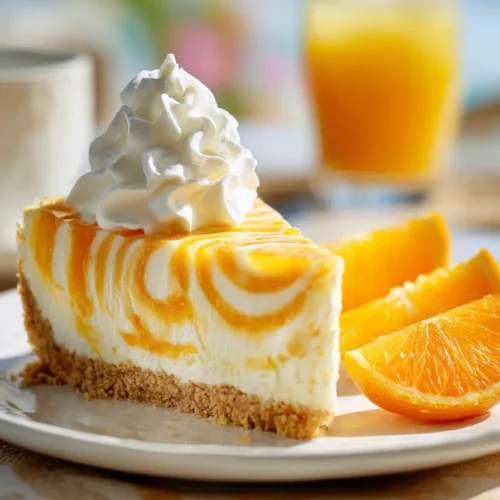
There’s something incredibly nostalgic about the combination of orange and cream. It takes me right back to the days of eating those bright orange creamsicles on a hot summer afternoon, the tang of the orange perfectly balanced with the cool, creamy filling. This no-bake orange creamsicle cheesecake is a fresh and indulgent twist on that classic treat, minus the mess and hassle of an oven. Plus, it’s as easy to make as it is to enjoy.
I was first introduced to this cheesecake by my aunt during one of our family summer get-togethers. She brought it as a dessert, and as soon as the first bite melted in my mouth, I was hooked. The smooth, velvety texture, the bright orange zest, and the tangy creaminess all came together perfectly. It quickly became a family favorite, and now I want to share it with you so you can make those same memories with your loved ones. It’s a dessert that’s perfect for any occasion whether it’s a summer barbecue, a birthday party, or just a weeknight treat.
What is No-Bake Orange Creamsicle Cheesecake?
A no-bake orange creamsicle cheesecake is a simple yet luxurious dessert that combines the bright, zesty flavor of orange with the creamy texture of cheesecake without requiring the use of an oven. This cheesecake uses a blend of cream cheese, whipped cream, and fresh orange juice and zest to recreate that beloved creamsicle flavor. The best part? It’s an easy, hassle-free treat that’s as satisfying to make as it is to eat.
This recipe is perfect for anyone who loves a cool, citrusy dessert with a rich, creamy texture. Whether you’re a beginner baker or a seasoned pro, this cheesecake comes together quickly and doesn’t need any complicated equipment. It’s the ultimate summer dessert, but it’s so good you’ll want to make it all year round.
Why You’ll Love This No-Bake Orange Creamsicle Cheesecake
There are a few reasons why this no-bake orange creamsicle cheesecake will quickly become your go-to dessert.
No-Bake Convenience: There’s no need to turn on the oven or worry about baking times. All you need is a refrigerator to let this cheesecake set. This makes it perfect for hot days or when you just don’t want to heat up your kitchen.
Easy to Make: If you’ve never made cheesecake before, don’t worry! This recipe is beginner-friendly and requires just a handful of ingredients. The preparation process is simple and straightforward, so you won’t feel overwhelmed.
Perfectly Creamy: The mixture of cream cheese, whipped cream, and orange zest creates a light, velvety texture that is irresistible. It’s like biting into a creamsicle but with a richer, cheesier twist.
Kid-Friendly: If you’re looking for a dessert to make with the little ones, this is it! It’s a fun treat for kids to help make, and it’s even more fun to eat. No oven time means fewer things to worry about.
Great for Leftovers: This cheesecake stores well in the fridge, and in fact, the flavors often improve after a day or two. It’s perfect for prepping ahead of time for a party or event.
How to Make No-Bake Orange Creamsicle Cheesecake
Ingredients:
- 1 ½ cups graham cracker crumbs
- ¼ cup sugar
- 6 tablespoons unsalted butter, melted
- 2 (8 oz) packages cream cheese, softened
- 1 cup heavy whipping cream
- 1 cup powdered sugar
- ½ cup orange juice (freshly squeezed)
- 1 tablespoon orange zest
- 1 teaspoon vanilla extract
Step-by-Step Instructions:
1. Prepare the crust:
Start by making the crust. In a medium bowl, combine the graham cracker crumbs and sugar. Pour in the melted butter and stir until the mixture resembles wet sand. Press the crumb mixture into the bottom of a 9-inch springform pan, creating an even layer. Place the pan in the refrigerator to chill while you prepare the filling.
2. Make the cheesecake filling:
In a large bowl, beat the softened cream cheese using an electric mixer on medium speed until it’s smooth and creamy. Gradually add the powdered sugar, orange juice, orange zest, and vanilla extract, mixing until fully combined.
3. Whip the cream:
In a separate bowl, beat the heavy whipping cream until stiff peaks form. Gently fold the whipped cream into the cream cheese mixture, being careful not to deflate the whipped cream. The result should be a fluffy, smooth filling.
4. Assemble the cheesecake:
Carefully spread the orange creamsicle filling over the chilled graham cracker crust, smoothing the top with a spatula. Refrigerate the cheesecake for at least 4 hours, or preferably overnight, to allow it to set.
5. Serve and enjoy:
Once the cheesecake has set, carefully remove the springform pan. Slice the cheesecake into generous pieces and serve chilled. You can top it with extra whipped cream or fresh orange slices for added decoration.
What to Serve With
This no-bake orange creamsicle cheesecake is delightful on its own, but you can make it even more special by pairing it with some delicious sides or toppings. Try serving it alongside fresh berries, like strawberries or blueberries, for a refreshing contrast. A light salad with citrus vinaigrette can also complement the rich creaminess of the cheesecake. For an extra indulgent touch, drizzle it with chocolate sauce or serve it with a scoop of vanilla ice cream.
Top Tips
- Use room temperature cream cheese: This ensures that your filling is smooth and lump-free.
- Whip the cream to stiff peaks: The whipped cream gives the cheesecake its light, airy texture, so make sure to whip it to stiff peaks before folding it into the filling.
- Chill long enough: For the best results, let the cheesecake chill for at least 4 hours, but overnight is ideal. The flavors will have time to meld, and the texture will be perfect.
Storing and Reheating
This cheesecake keeps well in the fridge for up to 4-5 days. Simply cover it with plastic wrap or place it in an airtight container to keep it fresh. There’s no need to reheat it, as it’s best served chilled.
FAQs
Can I use a different crust?
Yes! While a graham cracker crust is traditional, you can easily switch it up by using a cookie crust, such as one made from crushed Oreos or vanilla wafers.
Can I make this cheesecake ahead of time?
Absolutely! In fact, this cheesecake is perfect for making ahead. You can prepare it a day or two in advance, and it will only get better as it sits.
Can I add other flavors to this cheesecake?
Yes, feel free to experiment! A little lemon zest or a splash of lime juice could add an extra citrusy punch. You could also try mixing in a bit of vanilla bean paste for a richer flavor.
Conclusion
This no-bake orange creamsicle cheesecake is the perfect treat for any occasion, whether you’re hosting a gathering or just treating yourself to something sweet. The bright orange flavor and creamy texture are sure to impress your guests and make your family smile. Plus, with no baking required, it’s a stress-free dessert that anyone can make, even on the busiest days.
Enjoy this dessert with your loved ones, and make it a part of your go-to recipe collection you won’t regret it!
No-Bake Orange Creamsicle Cheesecake Recipe
Kochutensilien
- Electric mixer (for beating the cream cheese and whipping cream)
- 9-inch springform pan (for assembling the cheesecake)
- Mixing bowls (for preparing the crust and filling)
Zutaten
- 1 ½ cups graham cracker crumbs
- ¼ cup sugar
- 6 tablespoons unsalted butter melted
- 2 8 oz packages cream cheese, softened
- 1 cup heavy whipping cream
- 1 cup powdered sugar
- ½ cup orange juice freshly squeezed
- 1 tablespoon orange zest
- 1 teaspoon vanilla extract
Anleitungen
- Prepare the crust: Combine graham cracker crumbs and sugar in a bowl. Stir in the melted butter until the mixture resembles wet sand. Press into the bottom of a 9-inch springform pan. Chill the crust in the refrigerator while you prepare the filling.
- Make the filling: Beat softened cream cheese with an electric mixer until smooth. Add powdered sugar, orange juice, orange zest, and vanilla extract, and mix until combined.
- Whip the cream: In a separate bowl, whip the heavy cream to stiff peaks. Gently fold the whipped cream into the cream cheese mixture until smooth and fluffy.
- Assemble the cheesecake: Spread the orange filling evenly over the chilled crust. Smooth the top with a spatula. Refrigerate for at least 4 hours, or overnight for the best results.
- Serve and enjoy: Once set, carefully remove the springform pan. Slice and serve chilled, optionally topping with extra whipped cream or fresh orange slices.